The eye-catching aesthetic of a stop motion film is given by the process in which it is created. Each frame of the finished film is painstakingly shot, moving each model by a hair’s breadth to create the illusion of movement. The idea of it is simple, when you think about what a movie is to start with: individual photos strung together to create the illusion of movement. It’s when you have to think about every single moving piece in every frame that brains start to explode.
Shameless Plug
Need help with your next video or stop-motion video project? We’ve got you covered. Learn more about our video production services or get in touch with us to get started.
So we are going to attempt to demystify stop motion films by going through my process in creating one step-by-step, as well as offer resources of where to go to see much more talented people pull this off better than we can.
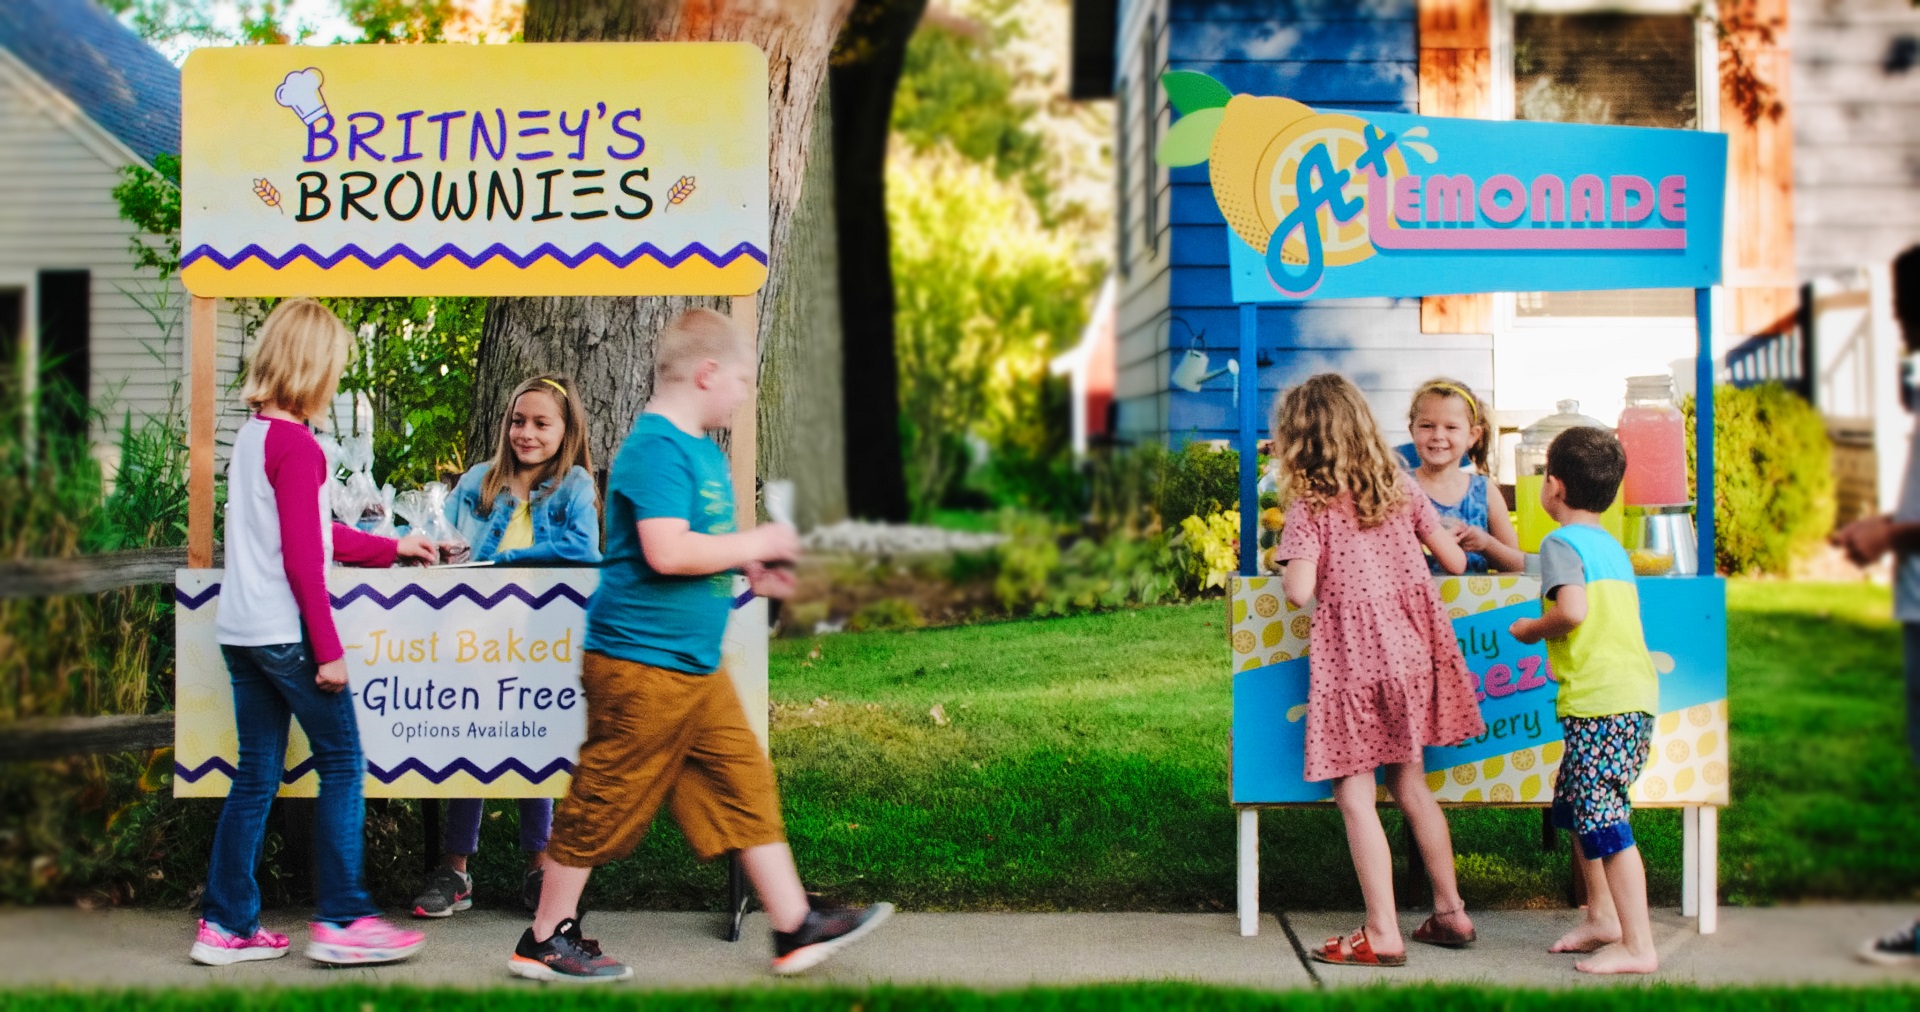
Here’s the final stop animation piece so you can see where we’re headed:
1. Story
The first step to any project is having a story to tell. In this case, a manufacturer of over-the-counter pharmaceuticals wanted to put together a series of spots for web videos advertising their new flavor of nicotine lozenge “Cherry Ice”. A nicotine lozenge is intended to be a non-smoking aid, so the idea here would be to create something that beats the craving of a cigarette.
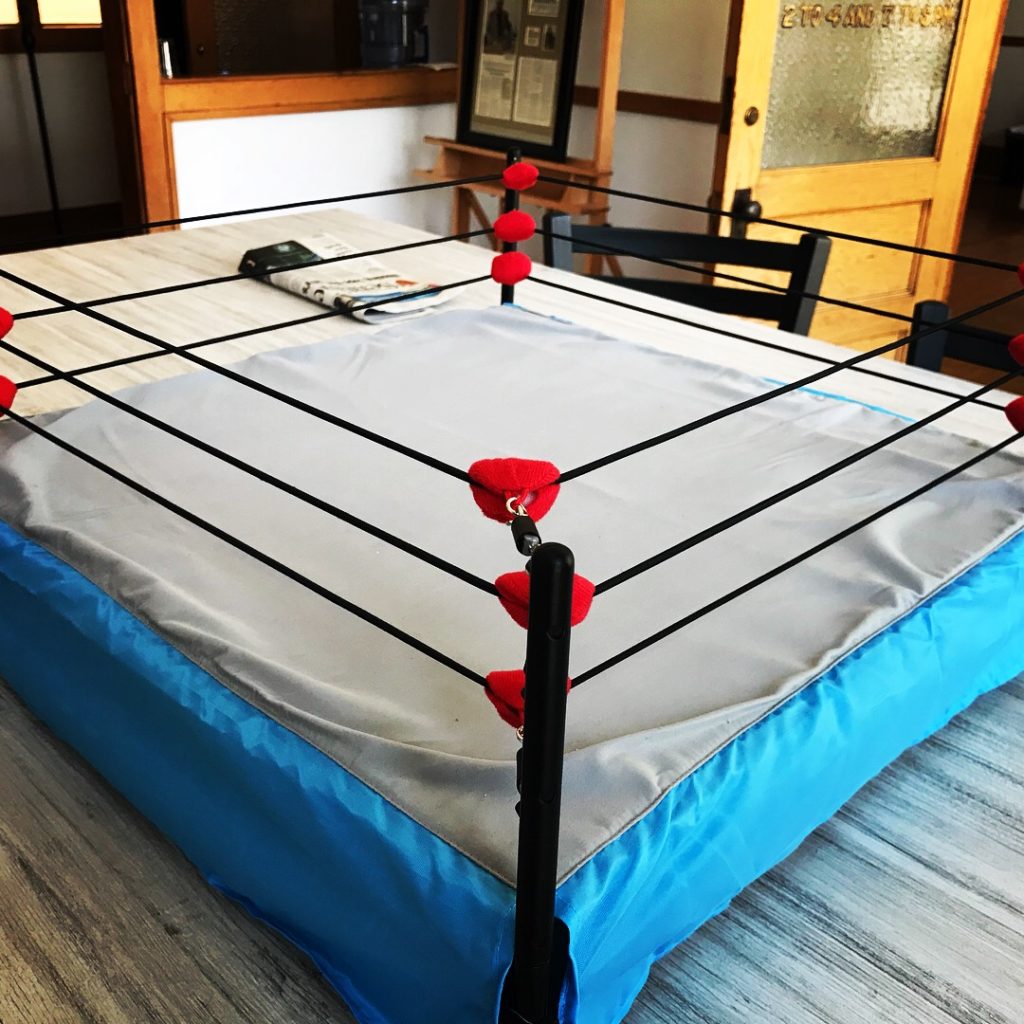
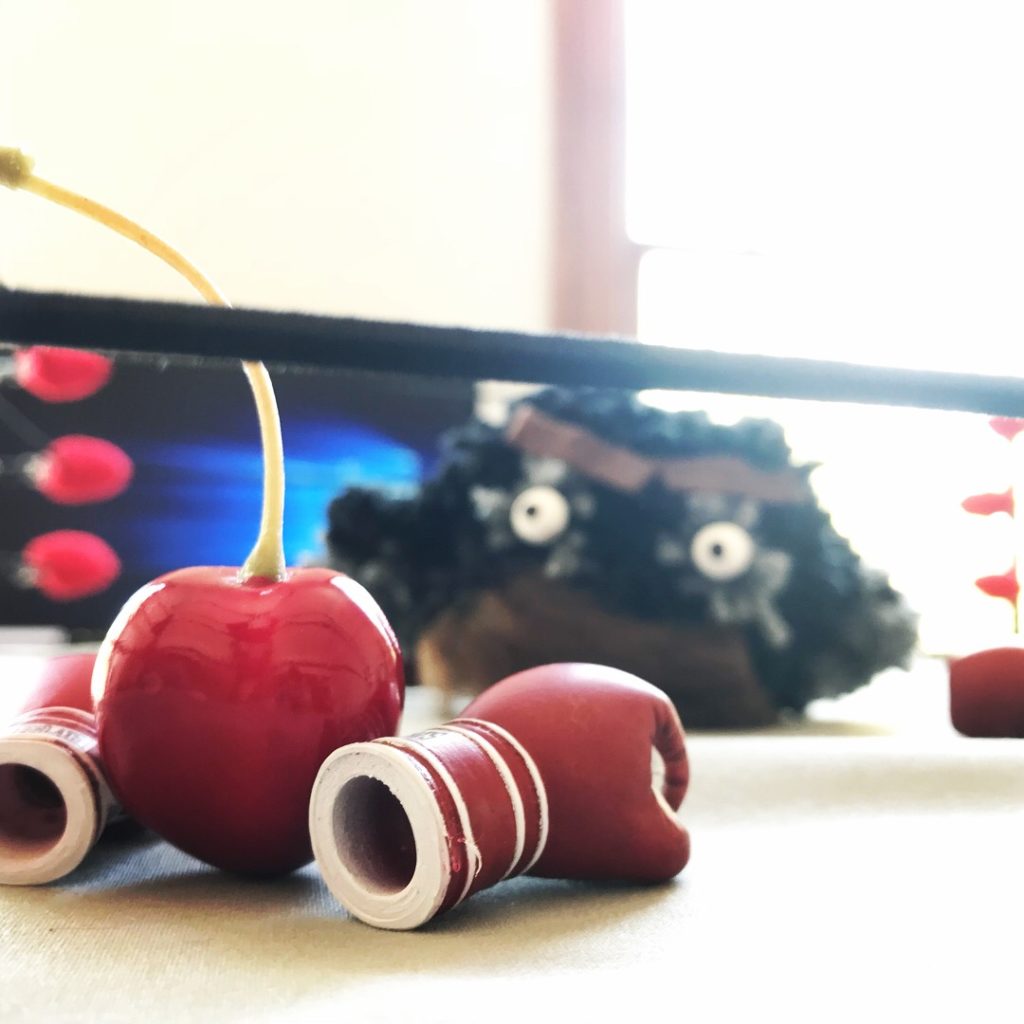
So we had our antagonist: Craving. And that means the protagonist would be the Cherry Ice flavor! We then had to consider our audience. The primary users of this product were males, ages 20-40, a category that included myself. I approached the writing by thinking about topics that I would enjoy seeing. So we pitched three 8-12 second spots featuring King Kong, a space monster, and pro wrestling.
To my surprise, all were approved. That means we move on to Storyboarding.
2. Storyboarding
I’ll be the first to admit that I can’t draw so this is a step I tend to shy away from in live action shoots when possible. However, these were short and featured only a handful of shots. So I gave it a shot:
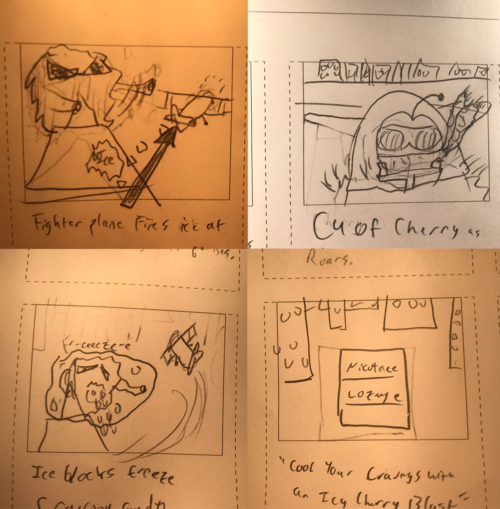
Yeah, like I said. Not a talent.
These worked for us internally, to get a good vibe on the story and look, but we needed a more refined version for the client.
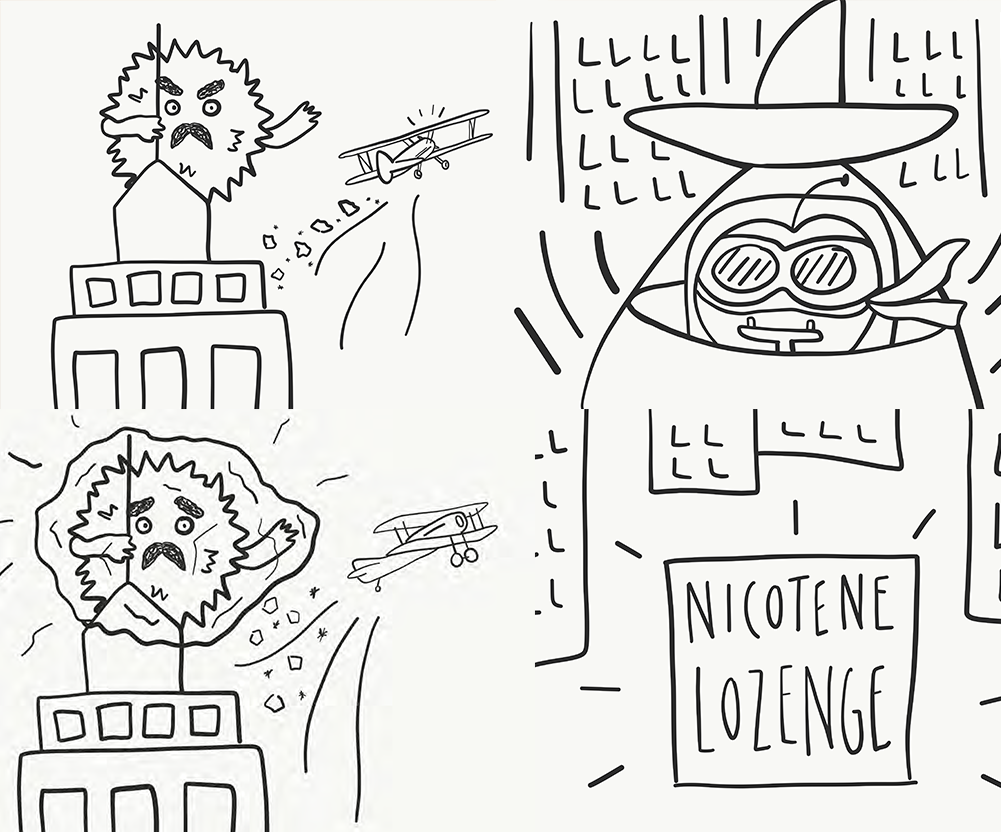
Rachel, one of our graphic designers, took my cave paintings and turned them into something easier to look at.
It was these storyboards that we took and turned into animatics.
3. Animatics
Animatics are animations typically using stand-in visuals like storyboards and rough audio. These allow you to watch your film before you make it, and is common practice in feature films of both live action and animation. You can often find examples of them in behind the scenes of movies. We think it is important to create them when producing a Stop Motion of any length.
Why?
It is because, more than any other medium, the pace of a stop motion is essential to get right in pre-production. Seeing your plans in real time will let you know what needs more time, and what can be cut. Besides that, it lets you calculate the precise amount of frames you are planning for each shot.
That said, even when you are sure you have the exact number of frames you need, you should plan to shoot several frames over as “handles” to give yourself some flexibility in the editing room.
4. Character & Set Design
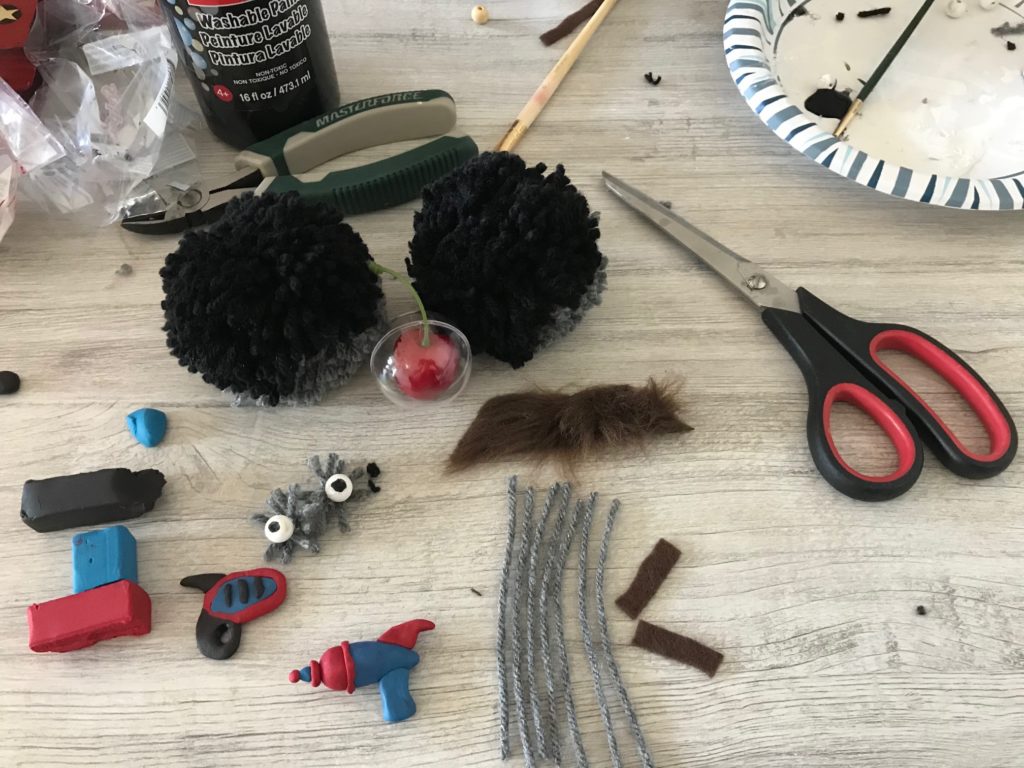
This is the most challenging part of the process, but it can also be the most fun. Before you go building anything you need to know what you are going to make, what it will look like, and what materials you will use to create it. You can really do this part however it makes sense to you.
We created extensive lists of every design element in each of the three spots. For example:
Craving (Character Model)
| Element | Physical | Reference |
| Body | Yarn Design. Black and Grey, with Red painted tinges | https://www.youtube.com/watch?v=j_gAeHpGMuI
Sourced from craft store |
| Eyes | Beads, white | Sourced from craft store |
| Eyebrows | Felt | Sourced from craft store |
| Mustache | Yarn design, brown | Sourced from craft store |
| Arms | Aluminum Armature wrapped in yarn | https://www.animationsupplies.net/armatures.html |
I found it important to note for each prop, character, or set piece the individual elements, the materials involved, and the reference/purchase location. This is just how we did it, but you should do whatever makes the most sense to you. Once you have gathered all of the materials you need, it’s time to start building.
5. Maquetting
Maquetting is the first step towards actual production. This is where you build your sets and models, testing for several things:
How they look on camera.
How easy they are to manipulate, and do they hold that form?
How well they stand/ do they need supports?
How durable they are/do you need to prepare extras in case of damage or for different shots?
6. Construction
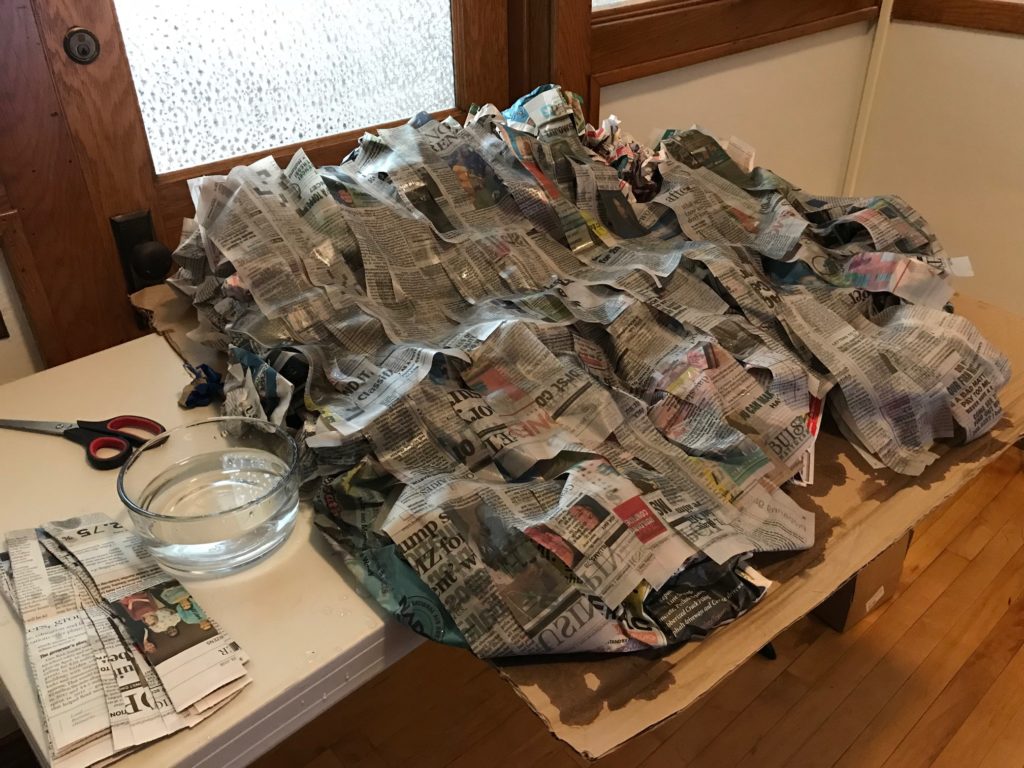
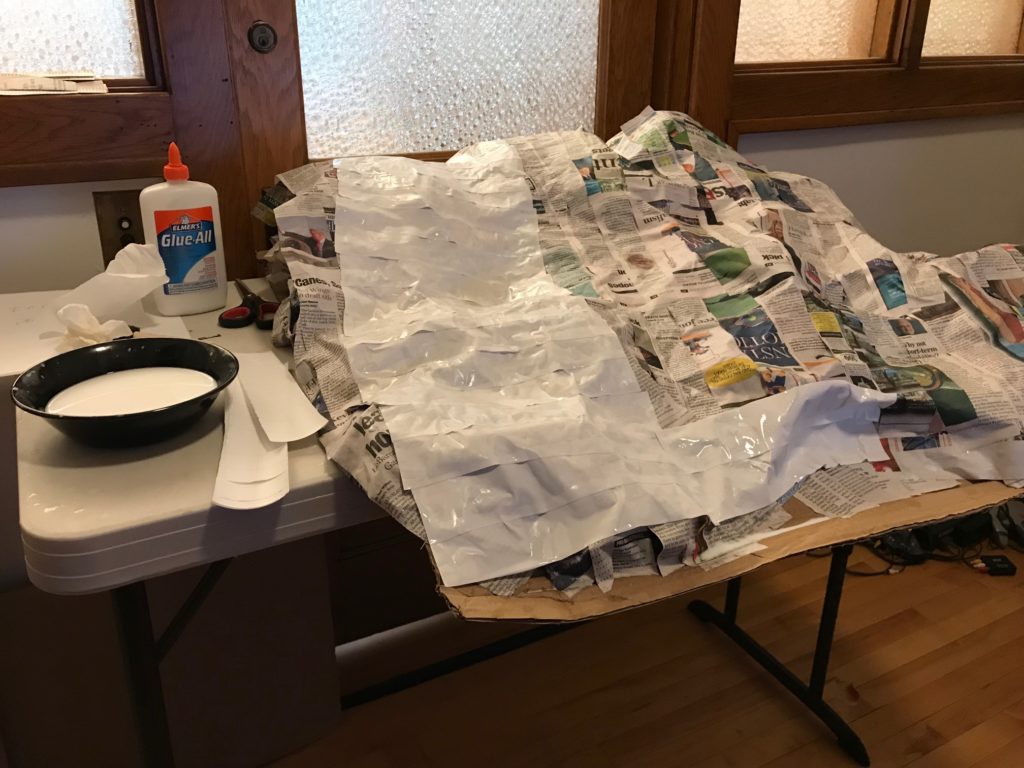
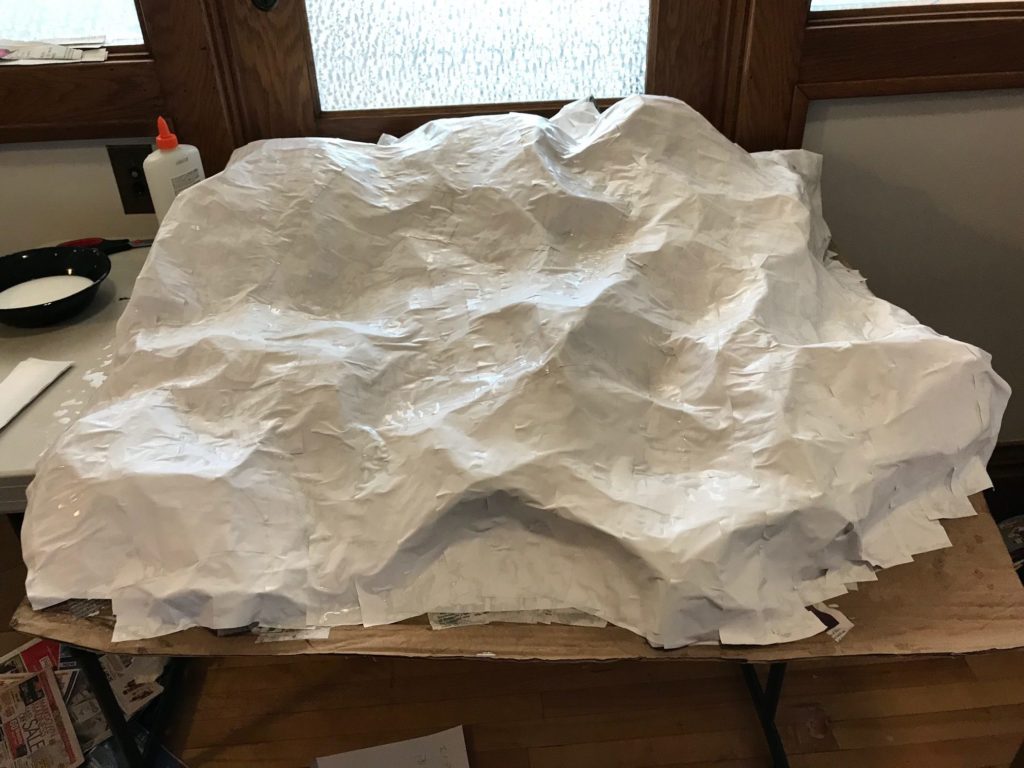
The final step in pre-production is putting all your materials together in your shoot location.
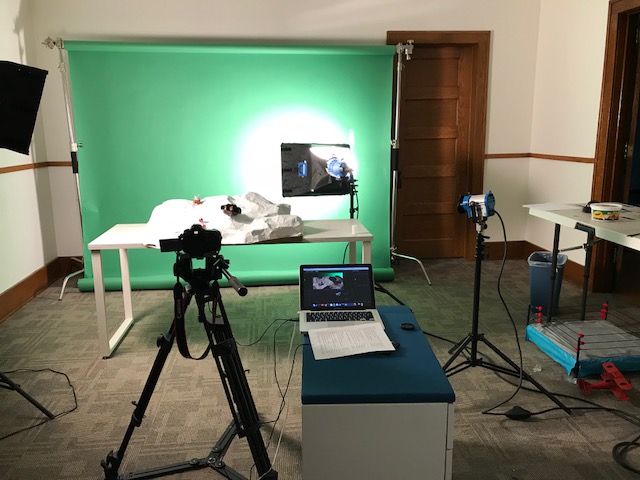
Quick note about location: You do not need an expensive studio or warehouse to shoot a stop motion. What you do need, however, is complete control over the light in whatever room you are shooting in. Ideally, that means no windows. If there are windows, they need to be completely covered with blackout fabric to prevent any light spilling into your scene. Even a subtle change in light will cause disruptive flickering in your scene.
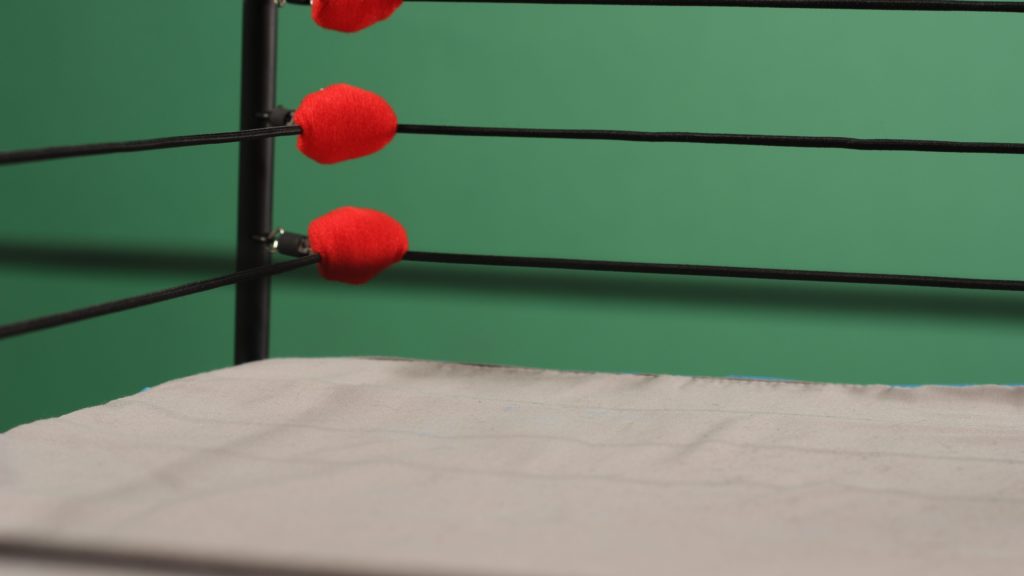
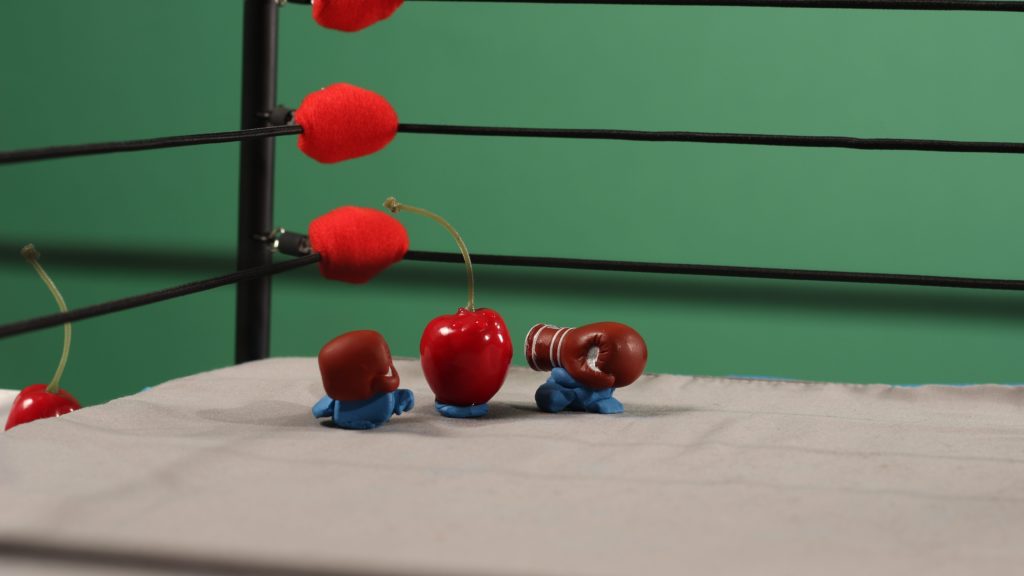
We set up a green screen as the background for the scenes. Even if you are going frame by frame to mask a scene in post, the green screen can help do a lot of the work for you. Try to keep the scene a good distance from the greenscreen, as the reflection can give green glow to the subjects in your scene. Avoid using any props of a green color, this will save you a headache in post when you are trying to make a clean key.
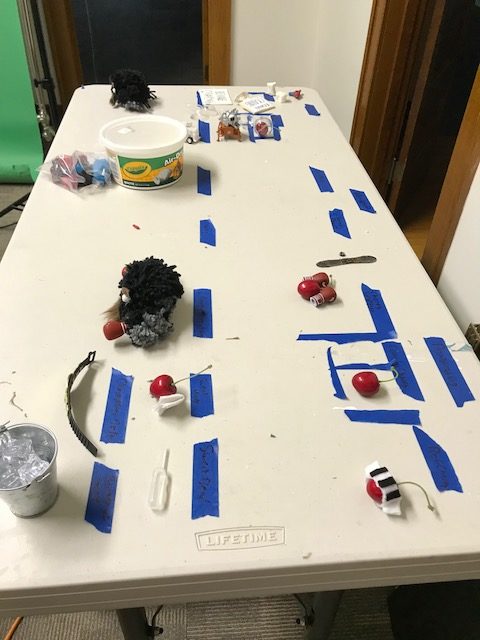
I would also keep a labeled prop table next to your scene with all of the elements that will go into your scene and any materials you might need to stabilize models or make quick fixes.
Finally, leave enough room in all of your setup between all of the elements for your camera and whatever system you end up using to log the photos. For this project, I used Dragonframe.
7. Animation
Now the name “stop motion” starts to mean something. Every frame needs to be shot individually and every scene element manipulated incrementally. But with all the work that you’ve just done, this can be a lot of fun!
Gone are the days of guesswork when it comes to shooting. While proper preparation is essential in ensuring that you are shooting efficiently, mistakes during production don’t mean you need to start over.
We used Dragonframe on a computer and connected it to a camera partnered with the USB remote from Dragonframe. This is important because you can use the remote to control the camera and computer without touching them and risking disturbing the frame. There are a number of great reasons to use Dragonframe in particular, but I will go into a few that were useful to me while I was shooting.
Onionskin is a feature that lets you lower the opacity of the current frame to see the last frame shot. It allows you to see exactly how much movement has happened from one frame to the next, ensuring you are getting the animation you want. It also can salvage a shot should a piece of the set be jostled or a model needs to be repaired. You can place them exactly how they were in the last scene by lining them up with the last shot taken.
You can also watch the whole film as you make it with the playback, or just the last several frames to ensure that your animation looks good. Seeing it playback immediately will let you know if you are on the right track or if you need to go back and redo the last few frames. This saves you loads of time on the back-end of the project and prevents painful reshoots.
8. Compositing
Compositing is the process of making two or more images a single image. Make sure that when you are shooting, you take a “plate” image, which means a shot with only the set background, as well as any elements that are not moved during production.
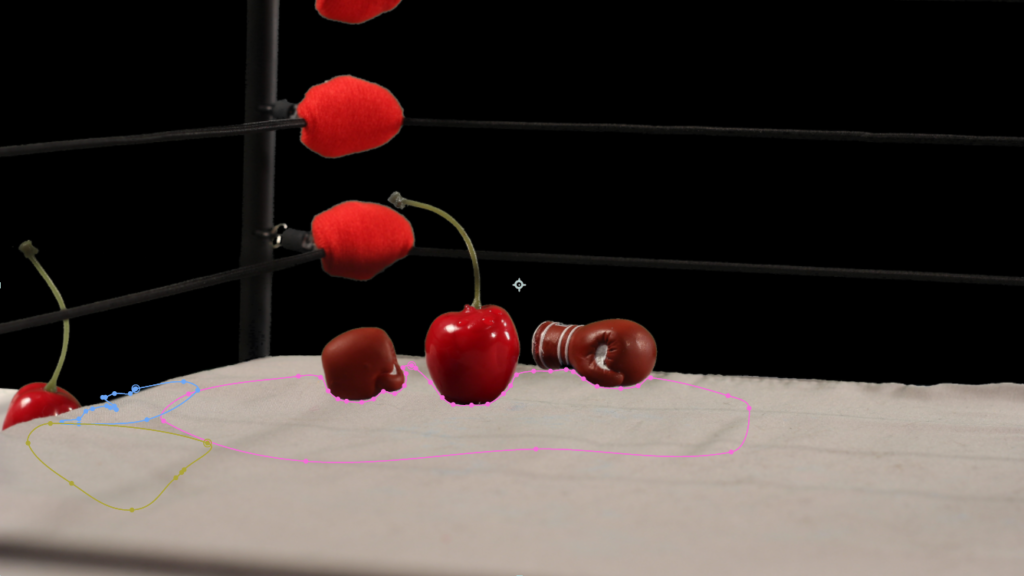
You will use this to layer over shots to remove anything that won’t be in the final product. We took all of the photos, exported them into an image sequence from Dragonframe, and imported them into After Effects.
I removed the green background and used the plate to mask the photos. We attempted to use the motion tracker that After Effects has to limited success, but still ended up having to do most of the masking frame-by-frame.
After that we worked on adding the VFX on top of it, like ice rays and bullet impacts. This was the hardest part of the entire project for me, and I won’t blame you if it seems daunting. But once you finally finish refining masks and adding VFX, the whole project begins to come together. It’s also worth noting that if you can develop a story approach that does not require background replacement or special FX, you can skip the compositing step entirely.
9. Rough Edit
This is where we jumped right back into my animatic timelines from way back in the beginning of the project and plugged in my visuals. The result was a glorious mess, but man did it feel good. We finally had the visuals and audio to go with it. But they definitely needed work.
We ended up using professional voiceover artist and a SFX artist to help us in finishing the piece. With those in the project, it was time for the client to see it.
10. Final Edit
The client gave us some notes, which brought us back to the VFX stage, but the changes were minor. Ideally, the client has been read in on the project and won’t have very many changes when you get to this point. Stop motion is one of the more difficult mediums to make changes in after the fact when it comes to things like pacing and visuals.
That is why proper preparation is so important. Creating those animatics will let the client see your vision for the project well before it is too late to change it. Stop motion is an incredible art form and very rewarding, but one should not approach it as lightly as one might a documentary-style live action video shoot. I don’t say that to discourage you, but to encourage you to ensure that when you dive into this, you do it prepared to succeed.
